Showing posts with label farm. Show all posts

Sunday, November 24, 2019

Scrappy Quilt I started!

I am a little behind on writing on my blog but I am going to try and catch up a bit in a few posts. It is not as quick As I would like to transfer pic from my phone to computer which seems to push me behind when I would like to post LOL
This is some extra material I just cut into 2x2 inch squares and I would like to stress not perfectly cut 2x2 inch squares. HEHE
I will add to this as I get more squares. could finish it in a month or a year maybe two.


photo bomb by Gray LOL


Friday, January 5, 2018

Dresses for little ones😚

This is some pictures of dresses I made back in November  2017. Some are made from recycled lady's shirts. Thought I had posted them. LOL

Wednesday, July 19, 2017

Garden is in full swing!

It's time to pick vegetables till we just can't go any longer.😄 I still have 1/3 of a row to go on green beans. Love the Country life!!!🌽🥕

Sunday, June 18, 2017

Life with a Cream Seperator

This is my life with a cream separator. I am milking four goats with just two adults in the house. So I have way to much milk. I am going to let the pictures do the talking.:) I have had some messes but I feel like I am getting the hang of this.  So what do I do with the cream? I use it to cook with, make butter (lots and lots of butter), in my morning coffee. The whole process takes me around 45 minutes.
cream separated ready to go

milk about to be separated

this is after clean up

Sunday, June 11, 2017

Chicken had chick


One of our chickens had a chick the old fashion way, she sat on the eggs. LOL It is so cute how protective they are.
ENJOY --

Saturday, February 18, 2017

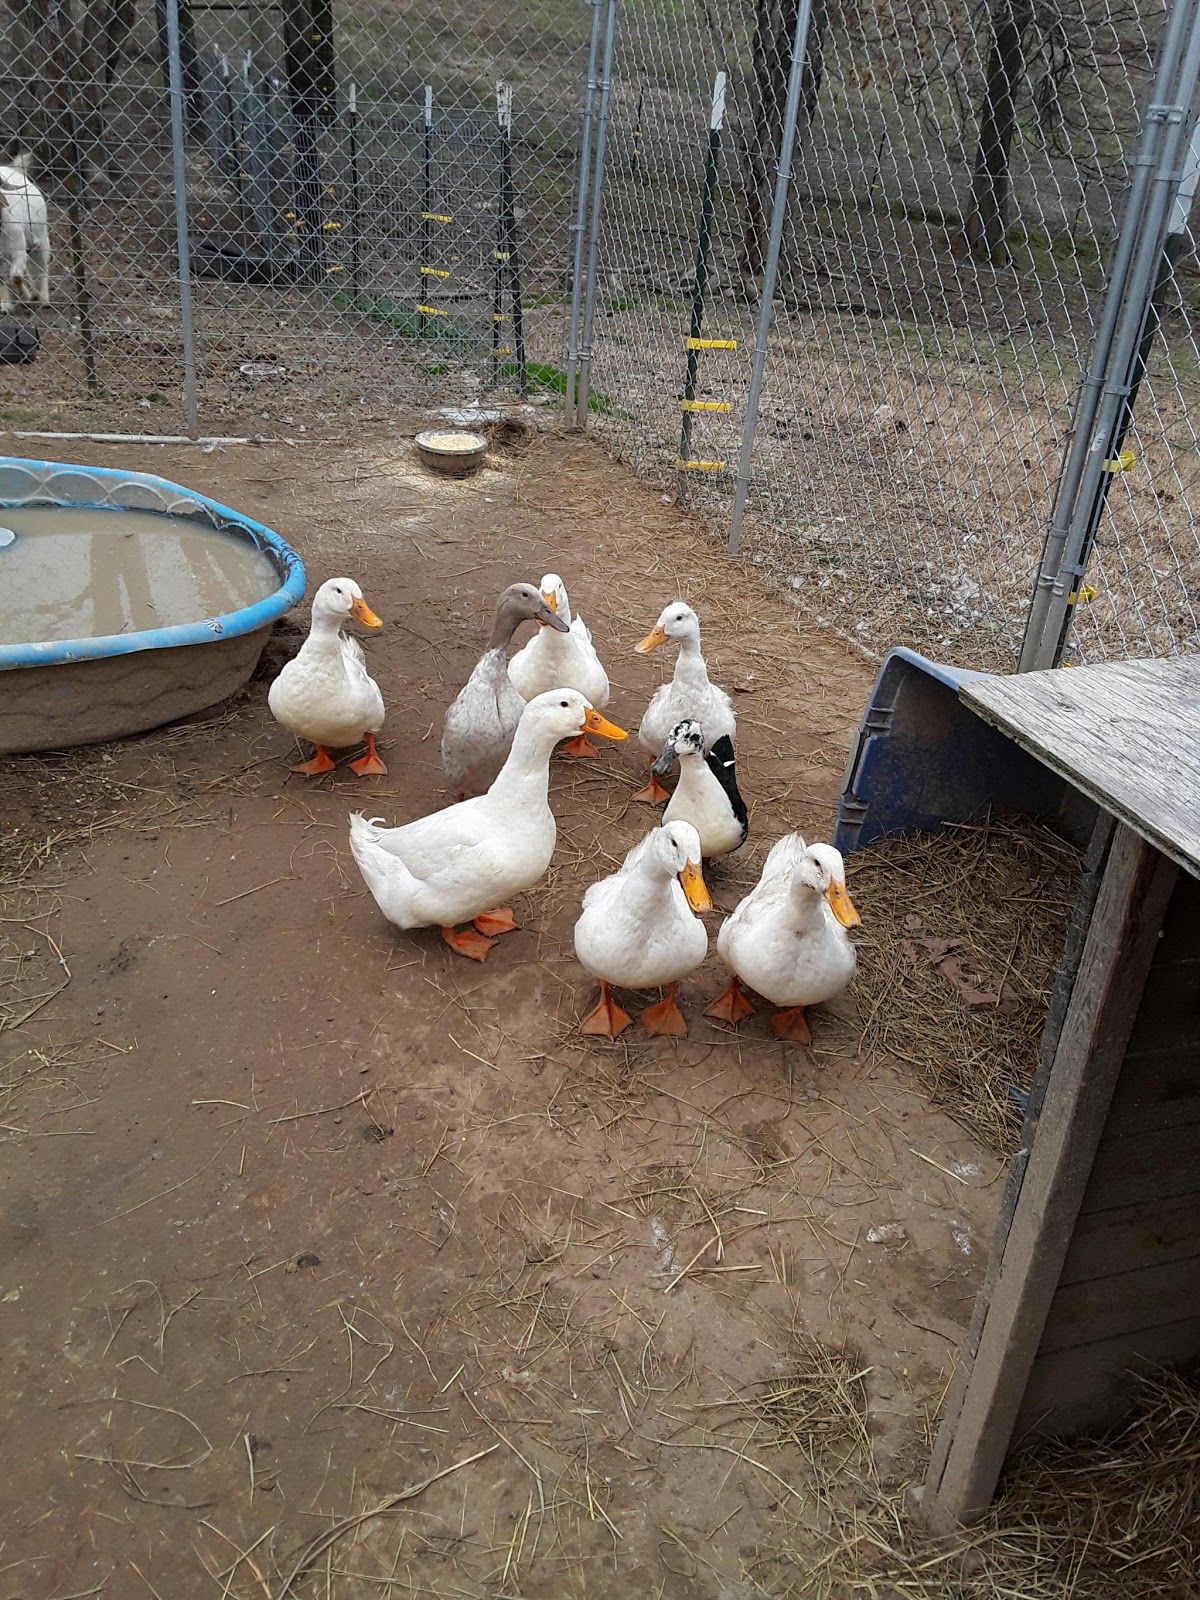
It's time to start hatching out ducks

Here we go. Incubators are running again.😄 can't believe it's that time already. This is the first time I will be attempting to hatch duck eggs. I will keep you posted along the way.

Friday, February 17, 2017

Monday, February 13, 2017

Real silverware find... antique- ing at its finest

I came across this awesome deal for all these forks. I like my silverware to be silver ( this is silver plated except one) it's heavier. Nothing matches and that's wonderful!  A few more polishes and they will be amazing.

Thursday, January 26, 2017

Thursday, January 5, 2017

Duck egg omelet recipe

Duck egg recipe 
One big omelet split in half

5 duck eggs scrambled
Cheese
Onion
Tomato 
Mushroom 
Butter
Little meat cut up small.


We all know how to make an omelet so have fun with it😆
I really like these copper pans❤

Monday, January 2, 2017

Duck egg Peach Cobbler

Peach Cobbler
SUPER EASY
Mix together 1 cup sugar, 1/2 cup milk, 1 cup flour, 2 tablespoons  baking powder, 1 duck egg.
Melt 1/2 stick butter in a baking dish. Pour batter mix over butter, pour one can of one filling over batter. Bake in 375 degree oven for 30 min or so.

Tuesday, December 27, 2016

Prairie Bonnets

This year one of the gifts I made for friends was prairie bonnets. This has been such a hard year I felt like everyone needed some fun. They were a big hit. 😃
 These are mop Caps - I made several to be worn during the Christmas time. I told them well Mrs. Clause wears them so have fun. They can also be used as sleeping caps.


The following are Prairie caps. I had been watching Little House on the Prairie lately and wanting several of these. I never expected them to be so popular. I made several with different types of interfacing in the bib. Light weight was ok, Heavy not so good. I also tried some left over batting from quilts and that was my favorite. I would suggest medium weight if you do not have batting. I cheated and did not hand stick the bill to the cap and as such had a stitch line that was undesirable. I masked it with lace. The next ones will have the hand stitch I believe it will improve the overall appearance.


Just as a ending note the white caps were made from a king size white flat sheet. As you can guess I had plenty left over. I tried to make a apron to match an the pattern did not work out ( More likely the sewer did not work the pattern correctly-- I know that one is the truth LOL)


Friday, December 23, 2016

Friday, September 2, 2016

Keystone De Luxe sewing machine-- Garage sale find

I am super excited about this garage sale find. I wanted a sewing machine that can handle heavy material or many layers of material at once. I found this at a garage sale and I can not wait to use it. I really want to try quilt as you go with this machine I believe I can do it with no problem. :)


Sunday, August 14, 2016

Super cool Water Barrel

I wanted to share a picture of a super cool Water Barrel. I went with the neighbor to a class in Warren County and made two of these Water Barrels. They supplied all the parts ( for a minimal fee-- really was minimal) and we put them together on the spot. What I really like is the stand and convenience of my water barrel for giving water to our birds. Super cool. If you want more information I keep the instruction from the class and can post them just let me know.....


Saturday, August 6, 2016

Duck Egg Cake -- Who knew ducks eggs were so Good??

The duck we have has stopped laying eggs. The season is over. :(  What really surprised me was that I now have a love of duck eggs. I have made several of these duck egg cakes and I use duck eggs in my meatloaf, really holds it together. Omelets made with duck eggs were super easy. I can say that with the two ducks I had laying not a single egg went to waste. ( that is on top of the chickens we have) Unfortunately during a sever thunderstorm one duck went missing (we suspect a fox) so for months that left only one duck to gather eggs from. I want you to know I went out and found more duckling for next year!
I am going to share the duck egg cake recipe with all the adaptations I did -- we think it is better than ever!

DUCK EGG CAKE
CAKE:
4 duck eggs ( separated-- use 4 duck egg whites and 3 duck eggs yolks)
3/4 cup all-purpose flour
1 teaspoon baking powder
1/2 cup sugar

Lemon Glaze/Raspberry filling:
1/4 cup lemon juice
3 tablespoon sugar
1/4 cup raspberry preserves

Frosting:
6oz cream cheese, softened
2 tablespoon sugar
1 teaspoon grated lemon peel
3/4 cup heavy cream
1 teaspoon vanilla extract

Fair warning this is a involved recipe so get ready. ( BIG SMILE)  It goes fast when you get started.

Heat oven to 350 degrees F. Grease and flour two 8 inch pans. ( I posted a picture of them)

Whisk egg yolks in a small bowl until mixed completely. Mix flour and baking soda in a separate bowl ( I used a fork). Beat egg whites in a large bowl at medium speed until foamy. add 1/2 cup sugar increase speed ( I used the highest my little hand held mixer could do) until stiff peaks form.
Now gently mix yolks into whites by hand add flour slowly! I added the flour in small amounts -- Very important mix by hand. It will mix pretty quick - divide into the two 8 inch pans.

Bake 20-25 minutes until light golden brown, Top will be similar to a sponge and toothpick will come out clean. Cool on wire racks. I mix the lemon juice and sugar when the cakes were in the oven-- when the cakes are cooling on the racks I gently poke the top with the toothpick before I use all the lemon juice mixture on both the cakes. Do this while the cakes are still hot.

Mix the cream cheese and sugar. Add lemon peal and mix completely. Add in the heavy cream until icing looks firm. Now this part goes pretty quick. Mix in the vanilla with mixer. It is really good. :)

Now we get to assembly the cake. Place one cake on a platter ( I use a plate with a small amount of frosting on the plate to hold it in place) than you place the raspberry preserve on top of the cake. I put frosting on the bottom of the other cake before I put it on top of the raspberry cake. Now it is only frosting the whole cake. ( final picture) I put in the frig to set the frosting but it never lasts around our house more than a few days.

*******Ok here is my idea-- This is a really basic recipe and I feel so much can be done with it. Next year I am going to try orange juice (undiluted of course) - orange marmalade and use orange peel in the frosting. Just think though really could use anything that strikes your fancy-- this is like a blank slate what else could be combo together. ********* Next year........

Monday, March 21, 2016

DIY CHIRSTMAS EGG ORNAMENTS --(FROM SCRAP PIECES OF FABRIC)

This is a super cool idea that I have taken to doing. I have (like everyone else) tons of scrap material. I don't know about the rest of you but I do end up throwing some of it away because of space issues. However I thought what can I do with them. Well here on the farm we have plenty of eggs so I started making these ornaments. I give them away at Christmas time and everyone just loved them to pieces.
Here is how I made them:
what you need to do is poke a hole in the top and bottom of the egg and blow out the inside of the egg. I made one side bigger and cooked the blown out egg as scrambled eggs. Be very careful for you can break the egg or get egg shells in your blown out inside goodness. Next I used very hot water from the kitchen facet and ran it through the egg shaking the egg in an attempt to clean it as much as possible. It will take days to completely dry and it needs to be completely dry. Be Patient.
Take a paper plate and cover it with freezer paper. I taped the back to keep the paper on the paper plate. I used paper plates because in the end it was a lot easier just to throw the covered paper plate away than take off the freezer paper from a regular plate. 

Cut up your fabric into small pieces. The pieces do need to be very small but this whole project works better when the fabric is of various shapes. I just went a little crazy and snipped and snipped. I divided my fabric into bowls with different color schemes. Trust me this will make your day go a lot better when you start using the glue things get a little messy and you do not want to be trying to sort through a lot of small pieces of fabric for one color mixed into a large batch of fabric pieces.
Now we glue the fabric onto the egg. There is not right way or wrong way to do this. I overlapped my fabric to cover the whole egg. However it is not necessary to do that. Use regular white ( school glue) it is cheaper and your hand will get all sticky. It is nice to be able to go to the sink and wash up when ever you want. You may find you need to do this often for the fabric piece you keep trying to pick up start sticking to your finger after a while. Now when you cover your egg with fabric place them on the cover paper plates and let them dry for 24 hours. Than I took the glue and just lightly cover the fabric cover egg with a layer of glue. Placed it back on the covered paper plate and let it dry for another 24 hours. This was my way of making sure the fabric was secure.
See here the eggs covered with fabric. My stash of prepped eggs ready to be covered with fabric.
I generally make two plate full of eggs. It helps in the next few steps they can be messy.
Remember you have cover your eggs once in a layer of glue now your going to cover them again in a layer of glue this time roll them in some glitter. Choose the glitter you want to compliment the eggs. This is messy but Wow is it fun.:) Let dry for at least 24 hours.

You know those twist ties on bread? Here is a place were we can recycle them. Yea. Take some ribbon and use the bread ties to wrap them into a hanger. Can you see them there on the carpet? This is another reason why I make several at once. Plug in your glue gun and take the tied in and glue it into the larger hole. I do not skimp on the glue gun glue. I apply generously. Can this be a little trying to you. Well the answer is yes. Be careful not to break your egg. ( you can) did you make the ribbon small enough to go in the hole of the egg. The what if's are endless. Try and go with it - don't let it frustrate you this is suppose to be fun.
Here is what you end up with at this stage.
During this step I gather branches from outside and stuffed them into a box. I placed a garbage sack under the make shift tree. This was to prevent the polyurethane from dripping off the eggs onto the carpet. If you do this outside you may or may not need the garbage sack. I did this in winter time so I was definitely not going outside. ( it was far to cold)
I took a foam brush and coated the eggs ( after the glitter had dried) with Polyurethane. I waited 24 hours and did another coat. I did have some eggs drip. I used the foam brush to dap the bottom of the eggs to prevent a weird look. Also I wore gloves during this step. It will be messy, go slow. The good news this is the final step.

Ta Da Ornaments for any occasion.
Have fun with it.